
To be sure, Microsoft has made some improvements to Windows 11, but some changes will take some getting used to. We're creatures of habit, and certain interface differences are going to make certain tasks more difficult, at least initially. And bypassing a Microsoft account became even more difficult in Windows 11, but it's still possible.
In this story, I'm going to show you workarounds that will help you overcome some of the pitfalls that Windows 11 presents if you're used to working on Windows XNUMX.
1. Set up Windows without a Microsoft account
Since Windows 11, Microsoft has pushed people to sign in to their Microsoft account (or create one) when doing a clean install of Windows or setting up a new device out of the box, much to their chagrin. prefer to use a local account that is not connected to Microsoft servers. Microsoft is getting even more belligerent about this in Windows 11, noting in the system requirements, "Windows XNUMX Home Edition requires Internet connectivity and a Microsoft account."
However, there is a way around the Microsoft account requirement so that you can create a local Windows account. This tip is useful if you're truly against signing in to Windows, such as when you're setting up a device for someone else and don't have their Microsoft credentials.
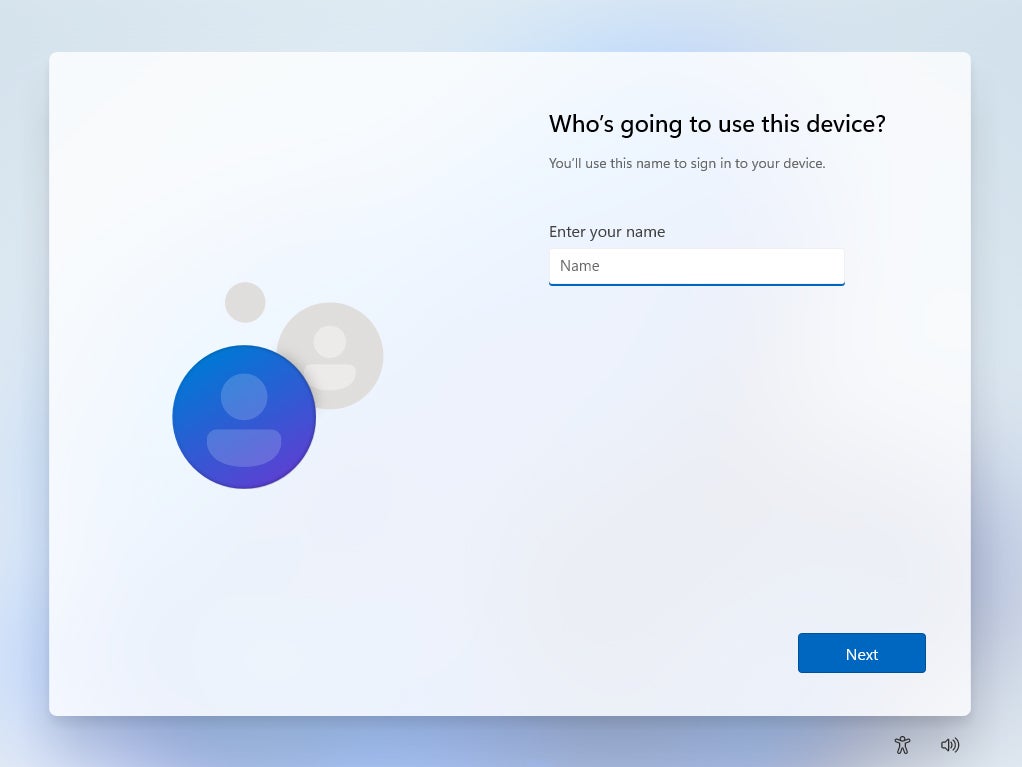
In Windows 11 Pro, you can simply suppress Microsoft sign-in during initial setup. On the "Let's connect you to a network" page, simply click or tap I don't have internet, then on the "Connect now to get started quickly on your device" page, click or tap Continue with limited settings . Then you can enter a username for the local Windows account.
In Windows 11 Home, Microsoft doesn't give us any apparent way to suppress it in the setup wizard. While somewhat more difficult than the Pro edition, there is a workaround in the Home edition to remove the Microsoft connection (and Internet access) requirement when at the initial Windows 11 setup screens:
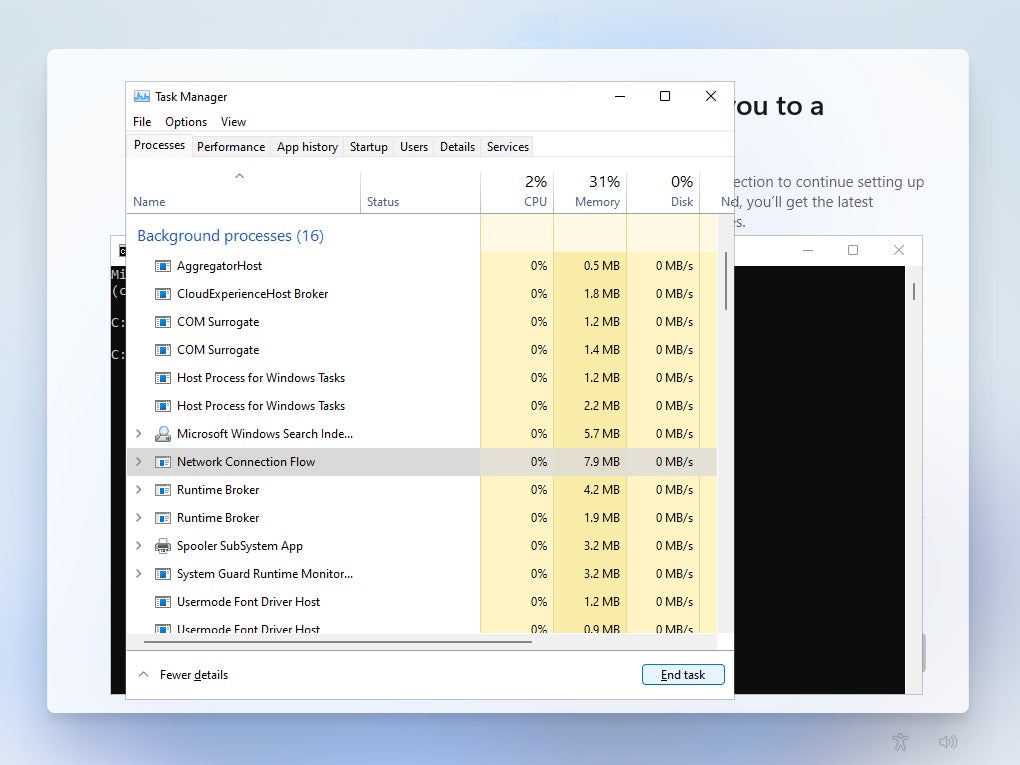
Press Shift + F10 in Windows 11 settings to open Command Prompt, where you can run the command to open task manager. (Click on any image in this story to enlarge it.)
 Eric Geier/IDG
In Task Manager, stop the network connection flow process so that it can delete the Microsoft connection.
 Eric Geier/IDG
Stopping the network connection flow process lets you create a local user account.
Note that signing in with a Microsoft account gives you some benefits, such as access to OneDrive, OneNote, and other Microsoft services; enhanced security features including 2-factor authentication and full disk encryption; the ability to synchronize data, applications and settings between Windows computers; and more restore options if you forget your password or need to reinstall Windows. If you then decide to switch from your local account to a Microsoft account, choose Start > Settings > Accounts > Your info > Sign in with a Microsoft account, then follow the prompts to sign in to an existing account or create a new one. a.
2. Click the Start button
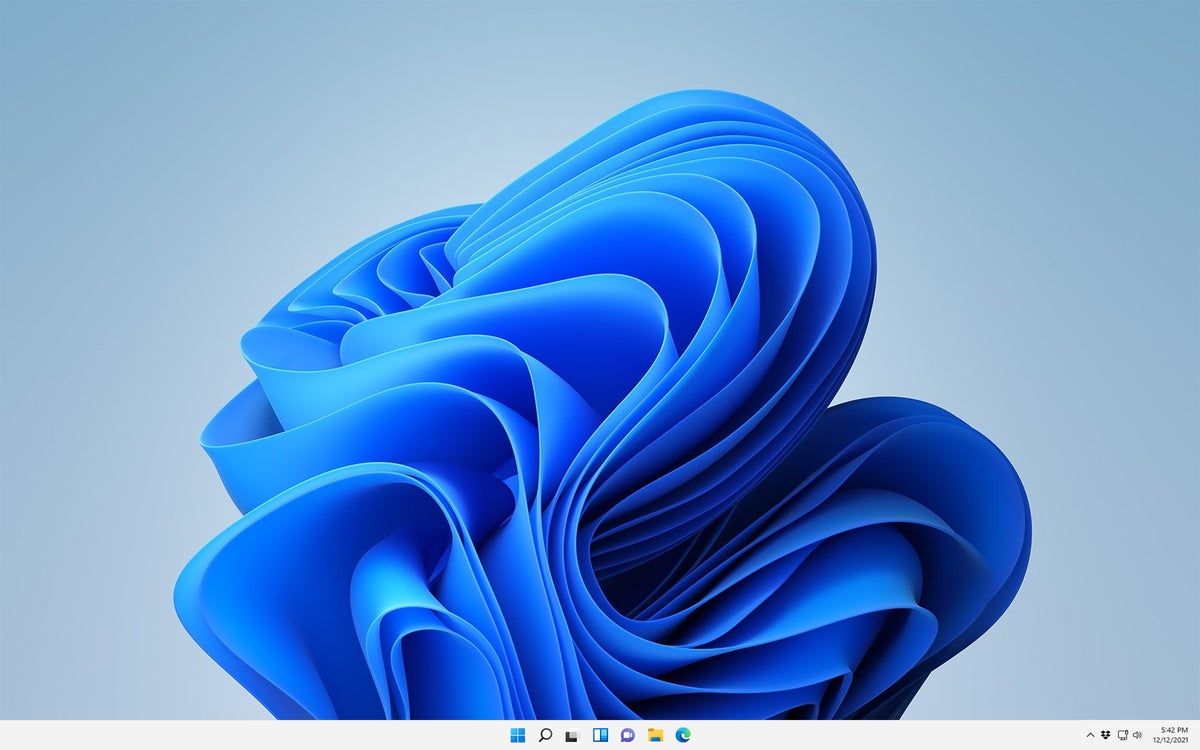
After more than 2 decades of a left-aligned Start button and taskbar in Windows, the centering of taskbar icons, including the Start button, in Windows 11 is sure to confuse everyone a bit. If you find that this is too much to get used to, particularly if you are still using earlier versions of Windows on other machines, you can adjust the alignment to the left. This is really the simplest solution that we will cover.
 Eric Geier/IDG
Windows 11-centric taskbar icons remind me of Google Chrome OS and macOS.
Simply right-click anywhere on the taskbar (except icons) and choose Taskbar Settings. In the Settings window that appears, choose Taskbar Behaviors, and for Taskbar Alignment, you can toggle it to the left.
 Eric Geier/IDG
Fortunately, it's a quick fix to return taskbar icons to the left.
That's it! But while you're here, you can also enable the taskbar's auto-hide feature if you want. Checking the Auto-hide the taskbar box means that the taskbar will only appear when you move the cursor down the screen. In addition to this, at the top of the taskbar settings (not shown in our screenshot), you can hide the default taskbar icons (Search, Task View, Widgets, and Chat) if you want. . .
 Eric Geier/IDG
The simple task of hitting the Start menu is sure to be easier with muscle memory once you align the taskbar icons to the left.
3. Get full right-click context menus
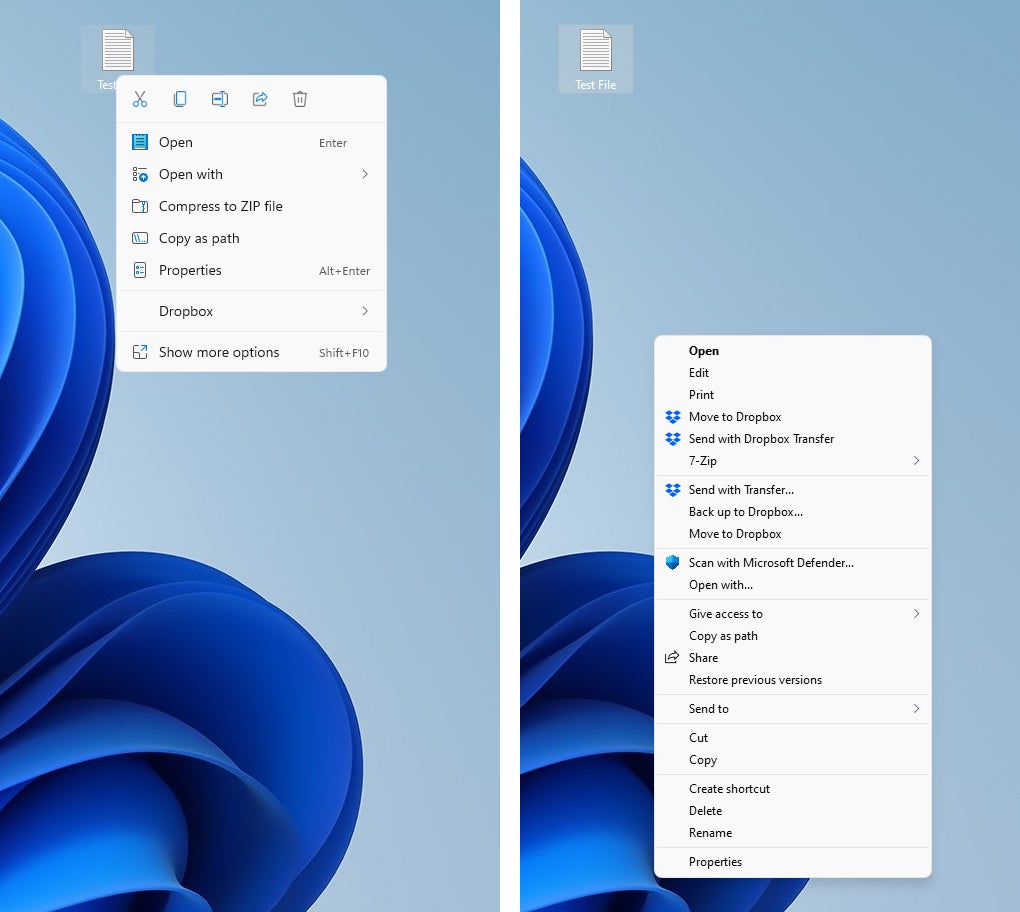
When you right-click on most apps, files, and other items in Windows 11, you'll be surprised to see an abbreviated context menu. It looks good and very elegant, but it is possible that some of your favorite commands and shortcuts have been removed from the initial context menu, especially if they are related to third-party applications. You can access the full list of options by tapping or clicking Show more options at the bottom of the menu.
 Eric Geier/IDG
On the left is the default context menu when you right-click on a file in Windows 11. On the right is the full context menu you're used to in Windows XNUMX.
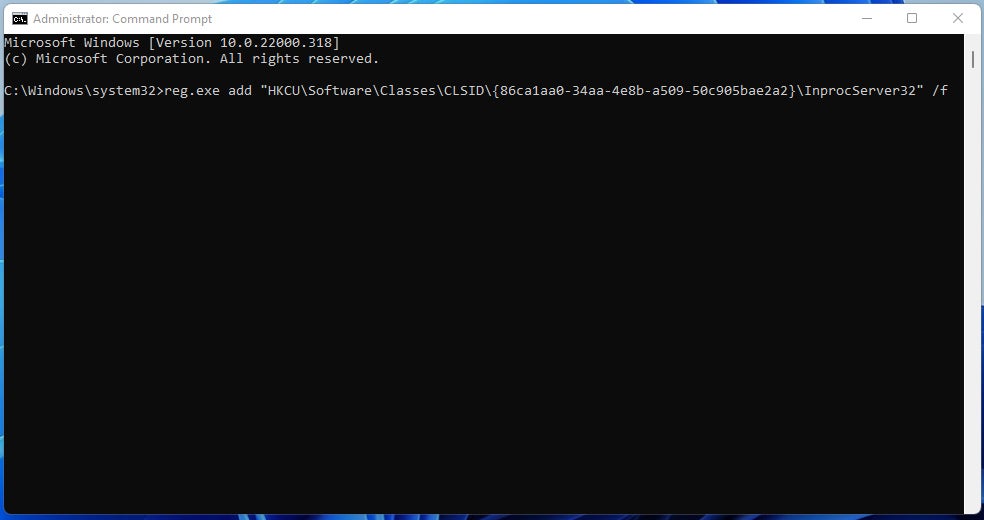
If you find the short context menu too annoying, there is a registry trick you can perform to always see the full context menus immediately at all times. Important: Always and at all times back up your system before editing the Windows Registry. Then proceed as follows:
reg.exe añade "HKCUSoftwareClassesCLSID{86ca1aa0-34aa-4e8b-a509-50c905bae2a2}InprocServer32" /f
 Eric Geier/IDG
Copying and pasting this command alters the Windows registry to suppress Windows 11 shortcut menus.
If you change your mind and want to go back to the shortcut menus, you can undo the change:
reg.exe suprime "HKCUSoftwareClassesCLSID{86ca1aa0-34aa-4e8b-a509-50c905bae2a2}" /f
4. Switch from default apps to non-Microsoft apps
In the Windows 11 Settings app, you can easily move certain genres of default apps (such as the Internet browser, video player, and email service client) from Microsoft apps to the preferred apps you downloaded. In Windows XNUMX, you can still change the default apps, but it's more difficult.
 Eric Geier/IDG
In Windows XNUMX, it's easy to change the default apps for a few different categories...
 Eric Geier/IDG
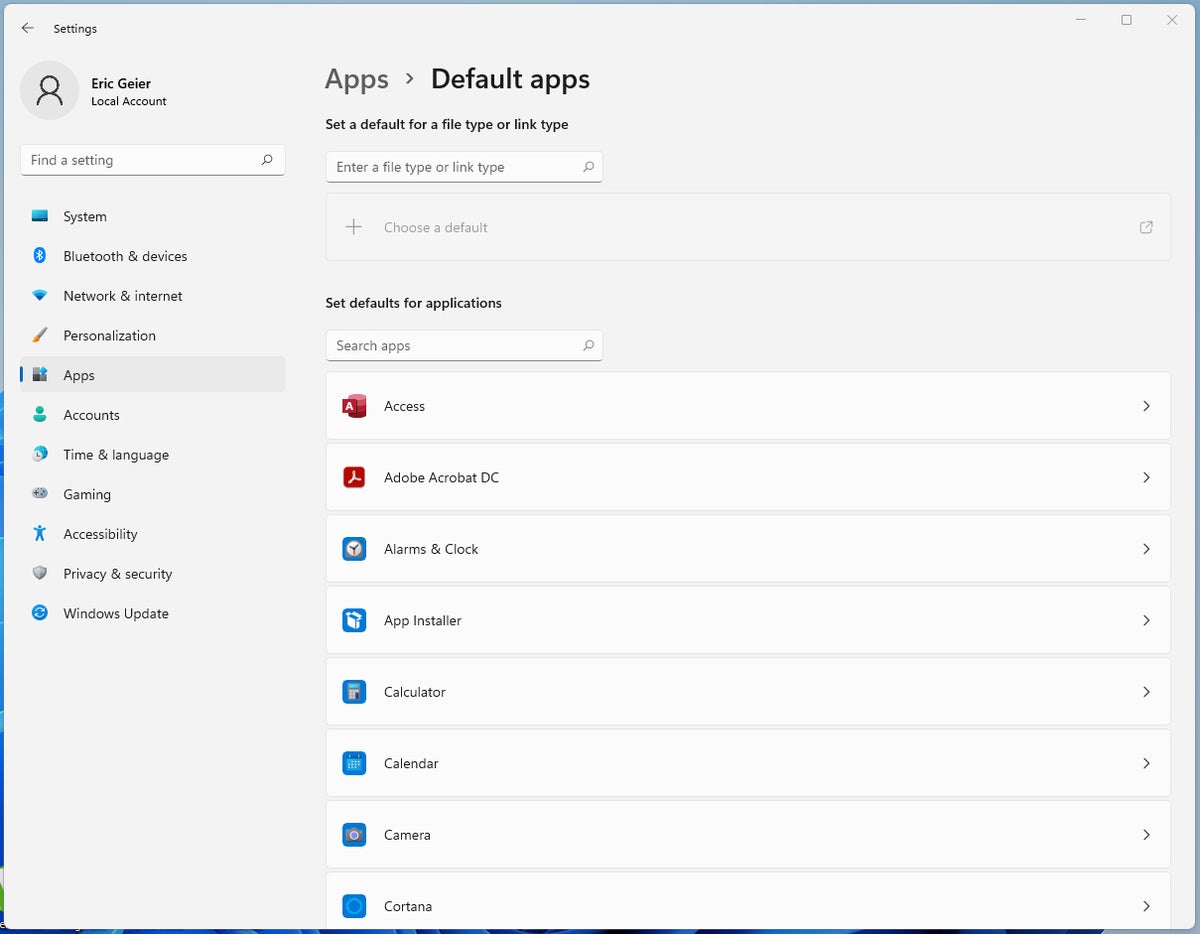
...but Windows 11 just gives you a list of all the apps, and choosing one shows all the extensions or types of links you can open.
In Windows 11, here's how to access default settings:
Many Windows users, for example, prefer to use a different browser than the default, Microsoft Edge. To change your default web browser outside of Edge, you can choose any web browser from the "Default Applications" list. Just be sure to change at least the following file types or links to use the browser of your choice:
- . Htm
- .html
- HTTP
- HTTPS
- MAILTO (if you only use webmail and do not use Outlook or Microsoft E-mail applications)
Changing the default browser (Microsoft Edge) to Chrome.
Eric Geier is a freelance technical writer. He follows his writings on Facebook or Twitter. He is also the creator of NoWiresSecurity, which provides a cloud-based Wi-Fi security service, Wi-Fi Surveyors, which provides RF site scans, and On Spot Techs, which provides general IT services.
Copyright © two thousand twenty-two IDG Communications, Inc.